

Lasting Holiday Memories With Some Quick DIYs
Candy canes, colder weather, lots of presents, and great music being played at stores, we all know what holiday it is, Christmas!!
Growing up, it would always be a tradition to put Christmas decorations, and make little DIYs at school that I would bring home to my family. Sadly as I got older, we stopped putting up as much decorations and my school stopped having us make DIYs, because we weren’t little kids anymore. Thankfully this year we were able to put up more decorations and I tried out a few DIYs with my little brother because of how much time we got to spend at home due to the virus.
Scrolling through social media is how I found a lot of the DIYs I tried out, we have all seen those “quick 5 minute DIY” videos appear in our feeds. The majority are relatively pointless and are not so safe to do but every once in a while you’ll find some great ones. They’re also a great way to bring the family together and spend time with your loved ones, especially during the holidays.
These are the top 5 DIYs we did and hope everyone tries.
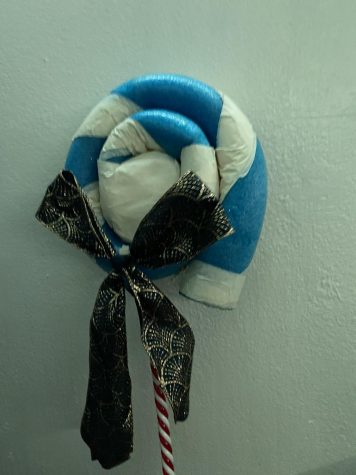
1) Lollipop made out of a pool noodle floaty.
Materials: All you’ll need will be a pool noodle floaty (the color is up to you), any colored tape(the color is up to you), and a stick to serve as the lollipops stick. Optional objects: a bow and plastic wrap.
Instructions: Take the Pool floaty and wrap it with tape so it looks like a candy cane, then take one of the ends and start rolling it so it looks like a lollipop and secure it with glue or tape. The final step will be to stick the stick through the rolled pool noodle. An extra additional step would be to wrap it in a clear plastic bag and adding a bow.
Overall, this ornament was a bit more complicated to make, as the pool noodle will resist being rolled and you will maybe need to pull the noodles or a get a very long one to make a good-looking lollipop.

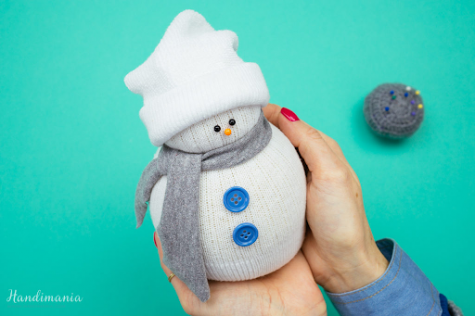
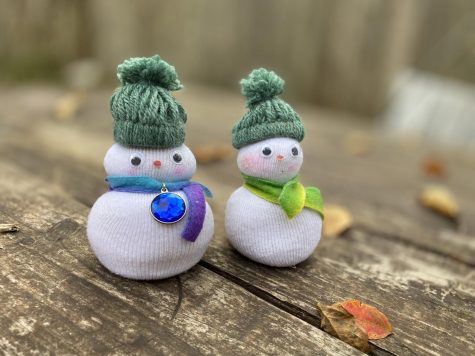
2) Mini snowmen from socks and rice
Materials: You will need a clean sock of your choice, rice (or anything you want as filler), two miniature eyes, and string. Optional materials include buttons, a miniature homemade hat, and a small piece of cloth to serve as the scarf.
Instructions: First, you will fill up the sock to your desired size and weight. Then you will tie the open end with the string and tie up the middle section of the sock to form a figure 8, this will give the snowman it’s body. The middle section string can be covered with the scarf. Now take the two miniature eyes and place them on the section that is tied off, the exposed tied off end can be covered up with the optional miniature hat. ![]()
Overall very simple and safe to do, and I believe ours ended up looking cuter than we intended.
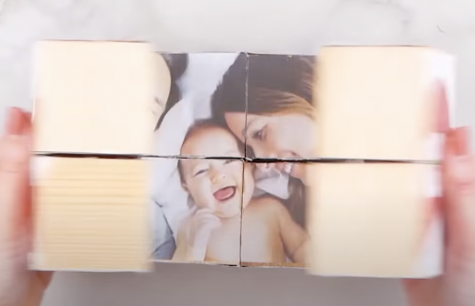
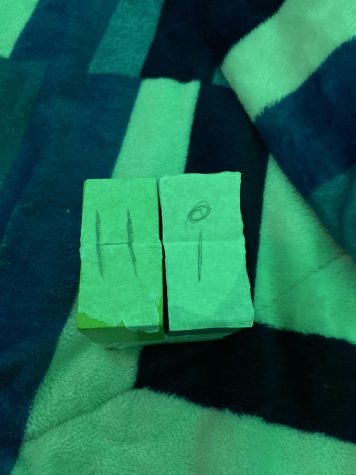
Materials: You will need 8 equally sized cubes, tape, a small knife, and images that fit the cube.
Instructions: The first step will be to take two cubes and place tape on one side so it can swing back and forth. You are to repeat this step three more times so you end up with four pairs of taped cubes. You are to place one at each side standing up and two laying down in the middle, which will result in a 2×4 configuration of the blocks. You will tape the backs of blocks and you should be able to form a 2x2x2 cube, which you can now add your pictures to. Remember to cut the pictures so the cube can open.
Overall it is relatively simple to do but can seem a bit confusing at first, but in the end, you’ll have a great gift you can give to anyone.
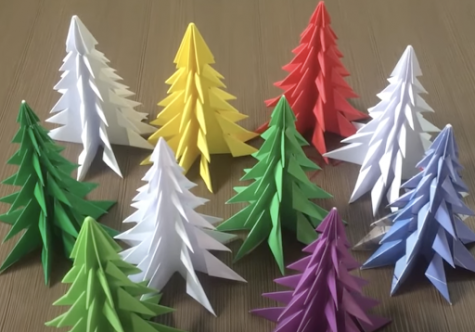
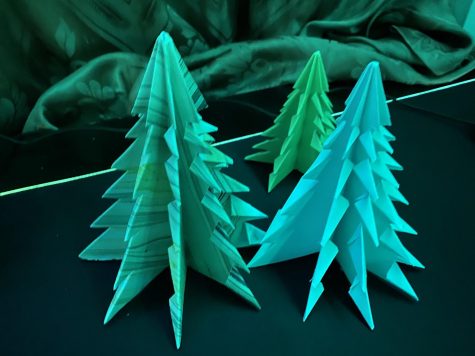
Materials: All you will need is paper and anything that can cut paper.
Instructions: See the following video. The steps for making the trees involve a lot of folding, but it becomes easier as you make more.
Overall this one was a bit more fun to do since not many materials were required, and you have left a tree that can be placed as decoration anywhere.
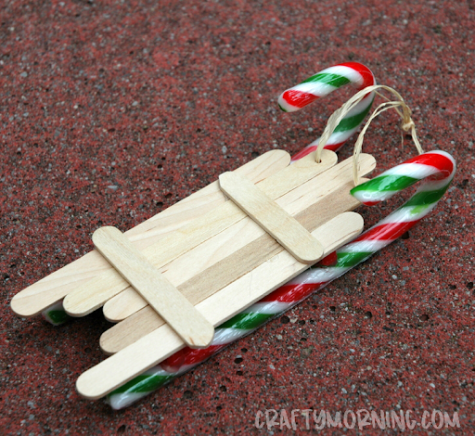
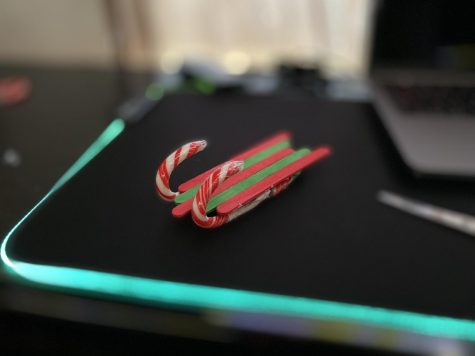
5) Sled made out of popsicle sticks and candy canes
Materials: Glue, popsicle sticks, and two candy canes
Instructions: You will take two sticks and use them as your frame, lay anywhere from 4-6 sticks on top of them to make your sleds floor. You can secure everything with glue, then take your two canes and glue them to the bottom of the sled with the hooks pointed up.
Overall, very simple to do, but we would recommend using plastic candy canes and not actual ones.
We had a lot of fun trying these DIYs out and they definitely brought back many childhood memories for us. They were a fun way to interact more with my family and I encourage anyone who wishes to spend more time with their family during the winter break to try these out with them.
Your donation will support the student journalists of Carnegie Vanguard High School. Your contribution will allow us to cover our annual website hosting costs and fund field trips, competition fees, and equipment. We appreciate your support!


Kristen Davis-Owen • Dec 18, 2020 at 9:25 am
I am IN LOVE with the “our version” pictures 😀
Diego Gonzalez • Dec 17, 2020 at 11:50 pm
Strong intro and the side to side comparisons were a very nice touch
Thomas Dowe • Dec 17, 2020 at 11:49 pm
The pictures and videos make the article so much more enjoyable